
Working a 6 stitch cable can be difficult, especially when you’re knitting cables without a cable needle. However, you can make this a lot easier by following a few simple steps.
In nearly every cable chart there are a number of “resting rows”. These are the rows in which you are just working the stitches of the cable as they appear without manipulating them. In some cable charts, there is just one resting row. Sometimes there are multiple. In the example we are using here there are 3 restings rows in between cables.
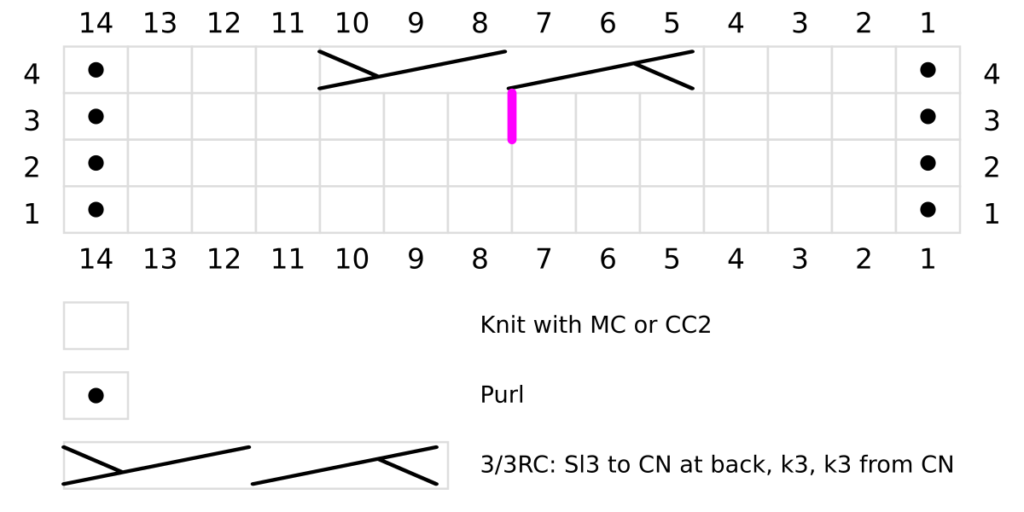
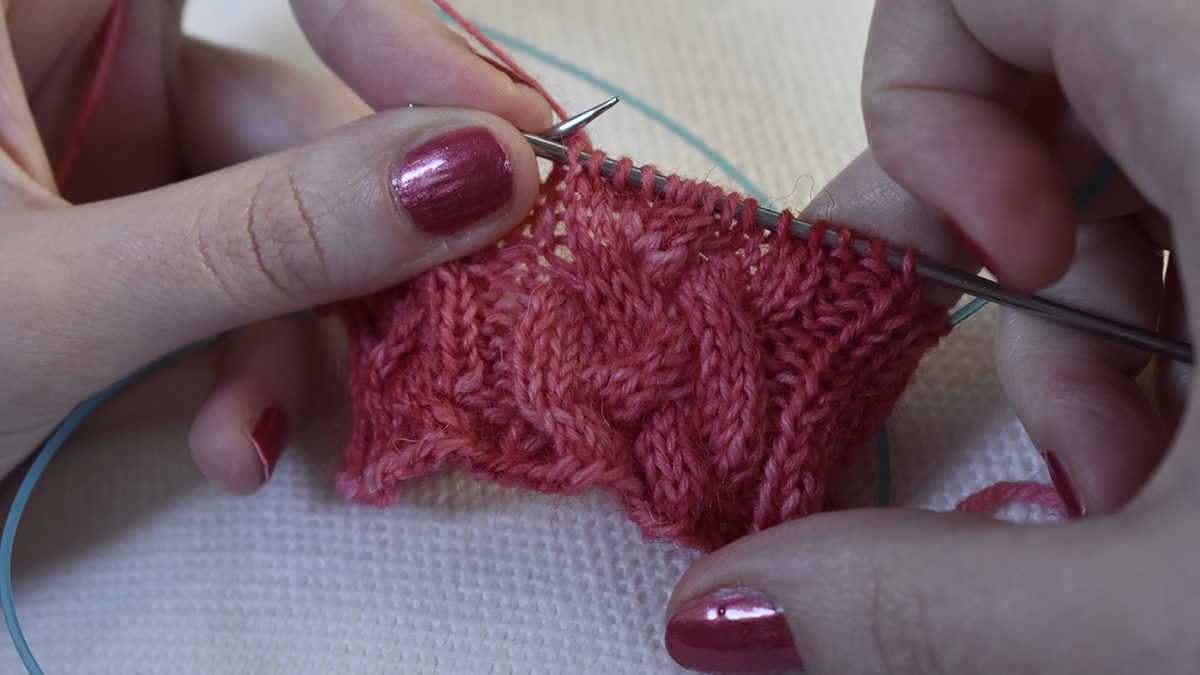
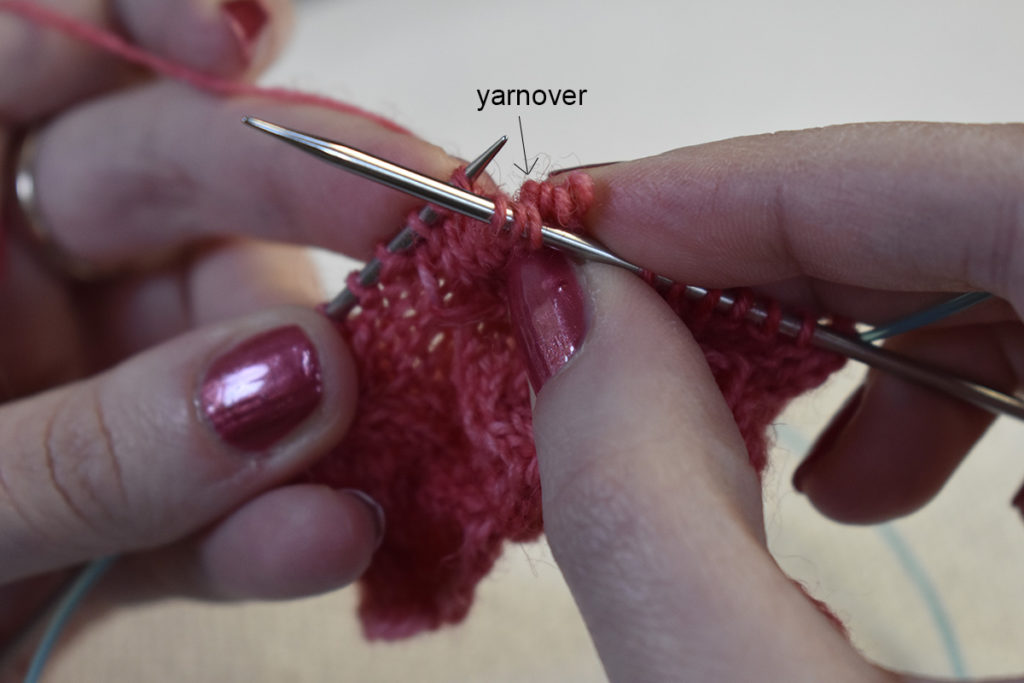
To make a 6 stitch cable easier, you add a yarnover in the last resting row right underneath the cable crossing. In the chart above you would add a yarnover in row 3, between stitches 7 and 8 as highlighted by the pink stripe.
Place a yarnover between stitches 7 and 8 of the cable chart
You don’t have to worry about increasing your work by 1 stitch. This stitch will disappear in the next row.
Your last resting row now contains 1 extra stitch
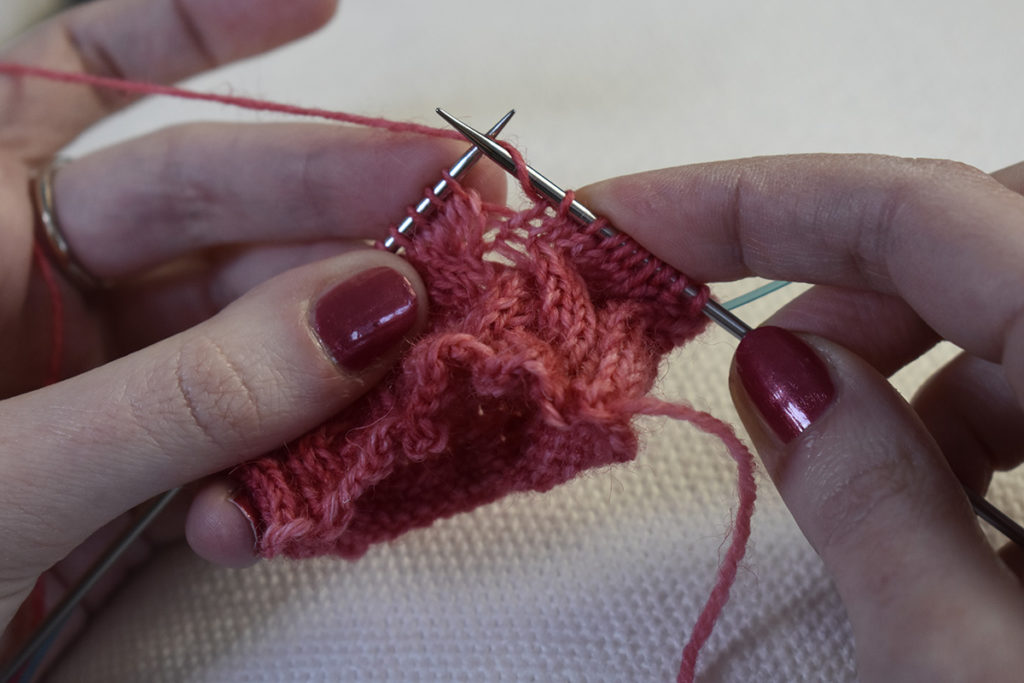
Next, you start working the cable crossing as you usually would, but being careful not to include the yarnover in your manipulations.
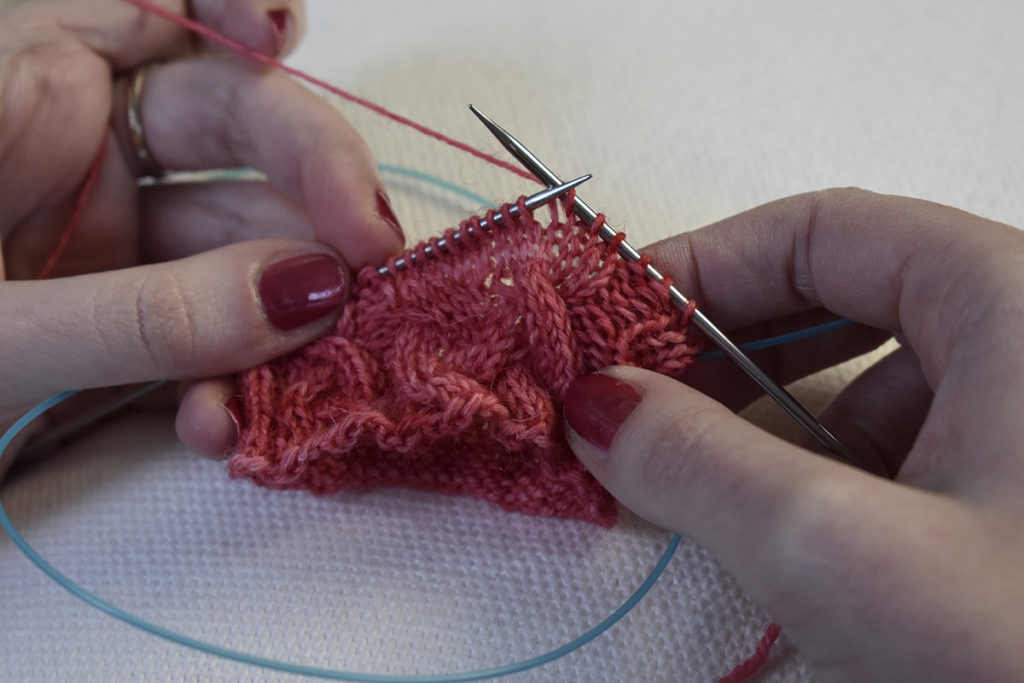
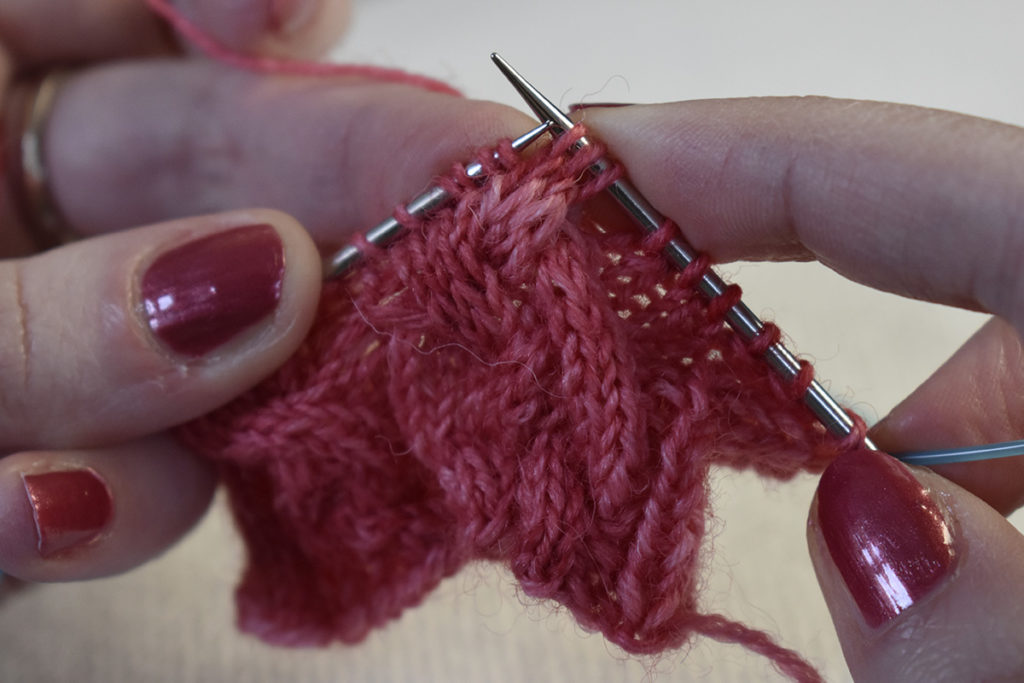
Work to the point where you start your cable crossing
Then, insert your needle in the front of stitches that need to be crossed to the right
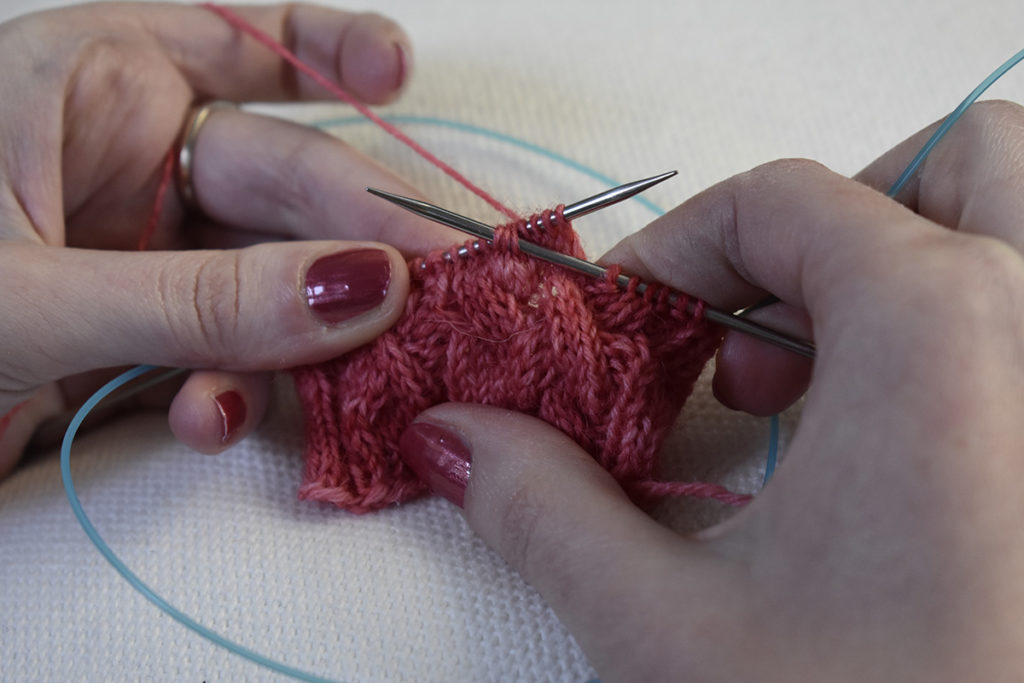
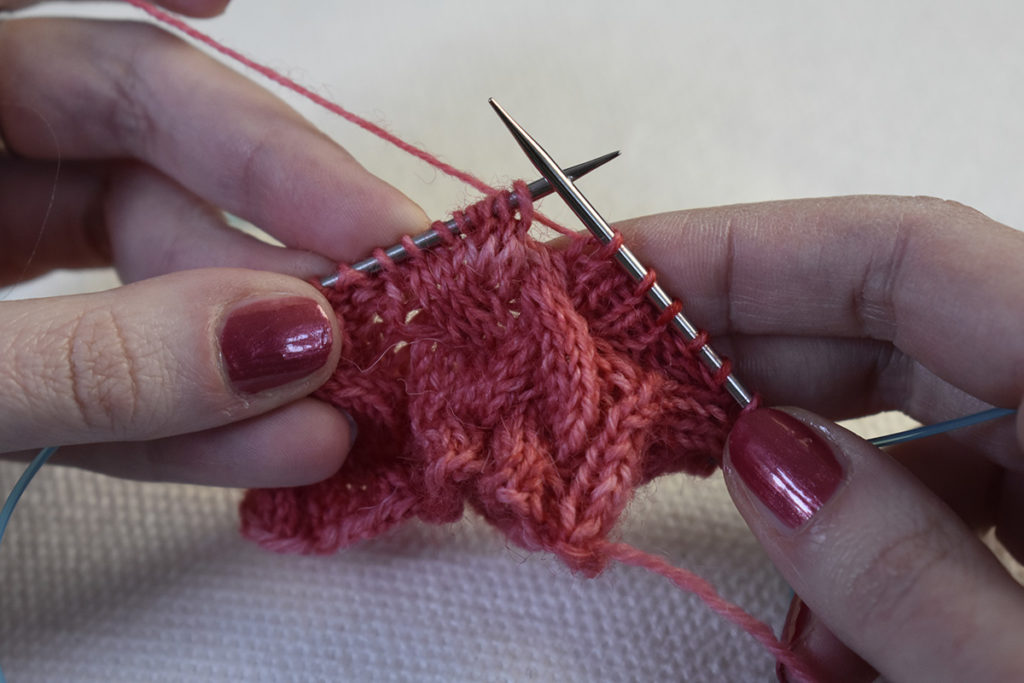
After that, slip the 4 remaining stitches from your lefthand needle and pinch the first 3 stitches from the right (thus ignoring the yarover), while pulling the righthand needle to the front
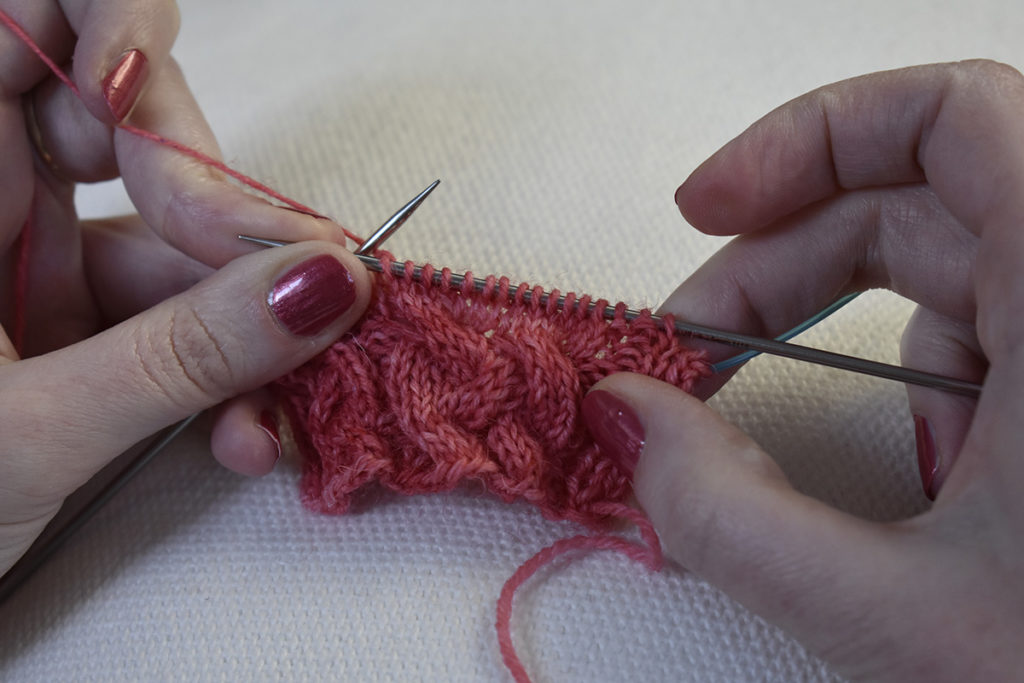
Next, the 3 pinched stitches are slipped back to your lefthand needle
Then shift the 3 stitches on your righthand needle over to the lefthand needle
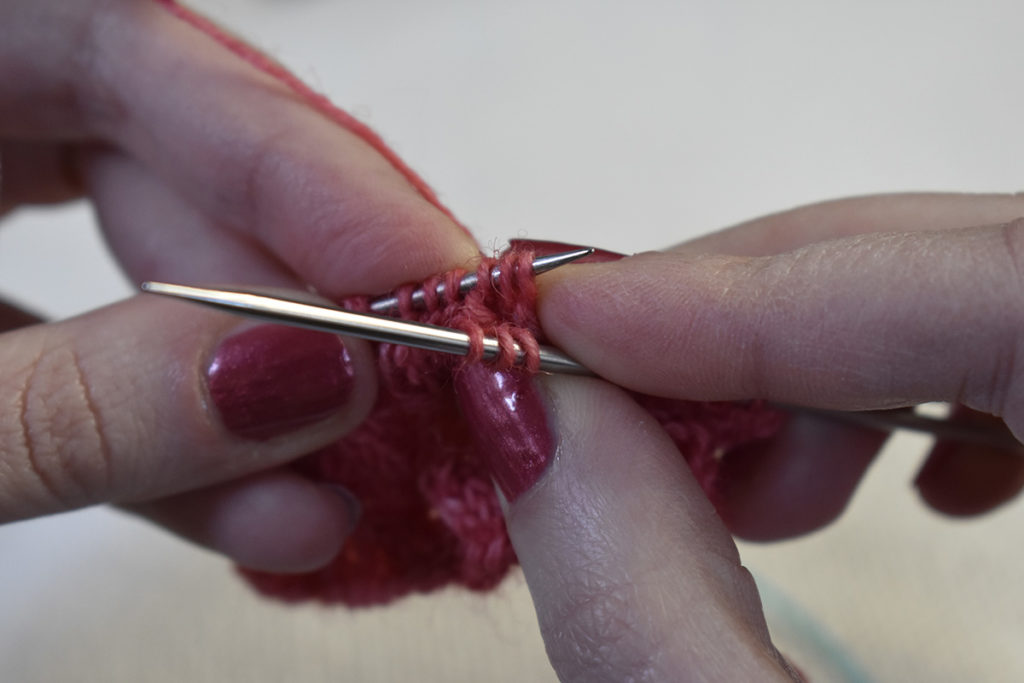
The cable stitches are all sitting on the lefthand needle now, ready to worked
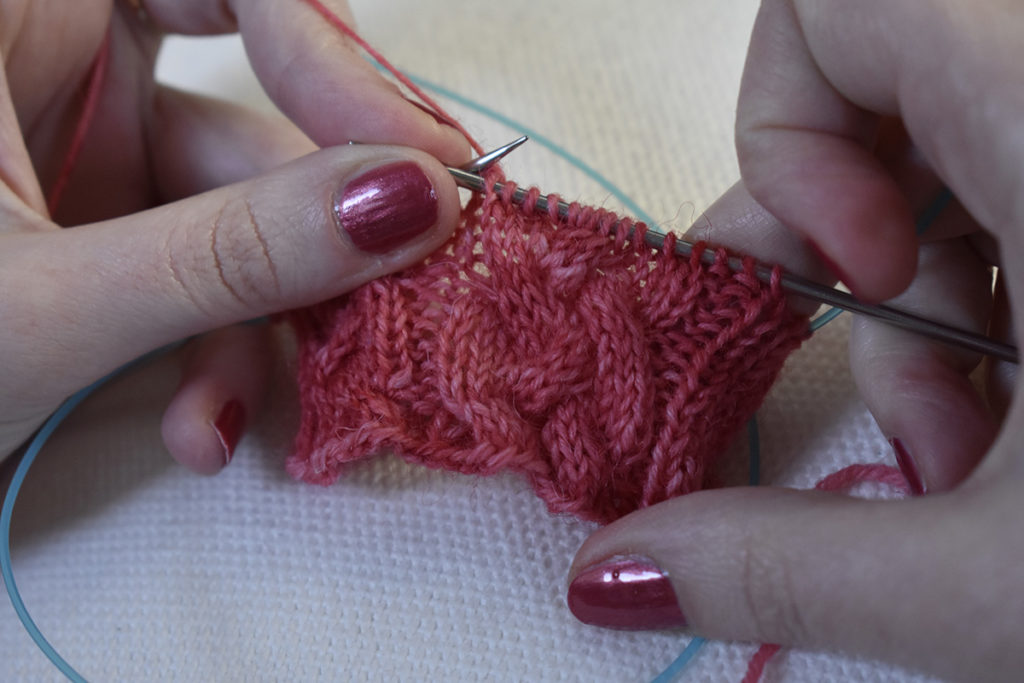
Finally, knit all the cable stitches
You have now succesfully worked a 6 stitch cable without using a cable needle. Hoorah!
Now go practice this technique in the Braidalot pattern!
To find out how to work a left leaning cable without a cable needle, you can check out this tutorial.
If you like this tutorial, please subscribe to my newsletter to hear about my latest blog posts, tutorials, and pattern releases. You can also follow me on Instagram or Facebook.
