
Part 1: Taking Your Pictures
Have you always wondering how to take great looking pictures of your knitwear? In the post below I’ve collected 7 tips that will definitely help you do just that.
1. Look for inspiration
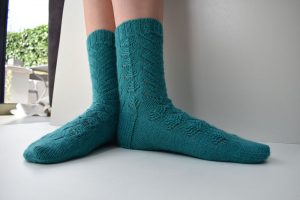
Decide on the look you want to go for. Usually it’s best to go for a clean look without too many distractions.

Try to find other knitters or designers that have beautiful project pictures. Personally, I love the pictures in Coop Knits Socks Volume 2 by Rachel Coopey. Sometimes it’s even possible to find out what their secret is. For example, SoxTherapist shared her favourite sock photography technique in this post.
2. Set up your photo studio
In this post I’m going to focus on how to take pictures indoors.
– Location: choose a well lit place, preferably next to a window
– Time: pick a time when the sun isn’t shining directly through that window, otherwise the shadows will be too harsh, or wait for a slightly overcast day (or moment)

Hint: when you’re taking your pictures outside make sure to either pick an overcast day. Alternatively, opt to take your pictures early in the morning or just before sunset.
– Props: for my indoor photos I’m using a piece of hardboard that used to be the backside of a cupboard and a piece of isolation material that was leftover from putting laminate flooring in our bedrooms
– Camera: you don’t need to have a super expensive camera to take awesome pics (but an expensive camera does make it easier). Some cell phone camera’s are able to capture high quality image in the right conditions
Check the specs of your device by googling them: your cell phone will probably have better specs than your ipad, your old digital camera might take better pics than your cell, etc.
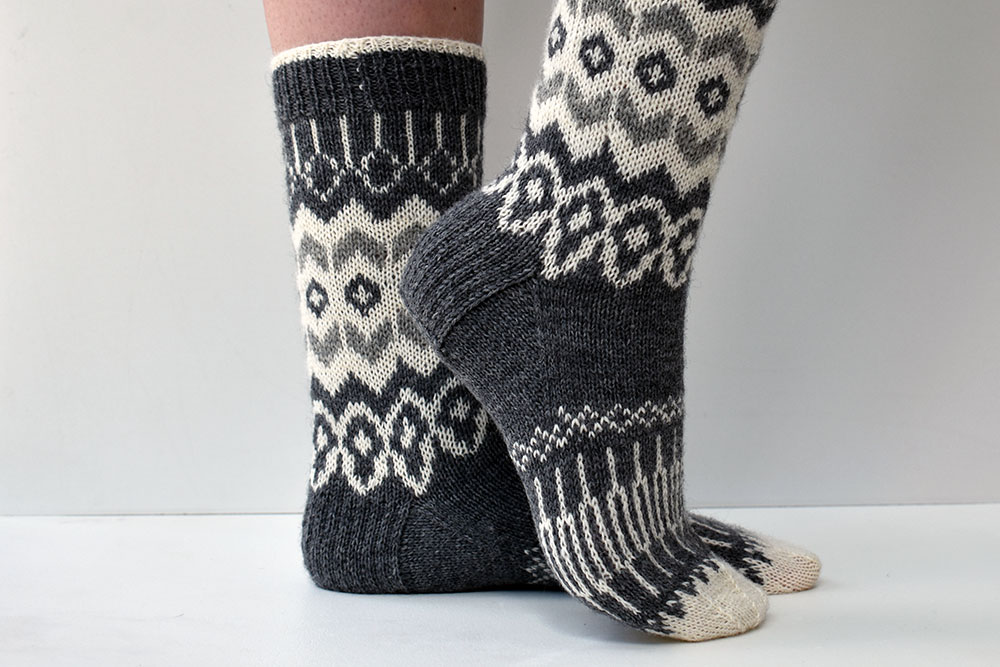
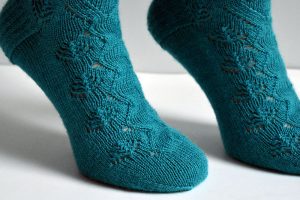
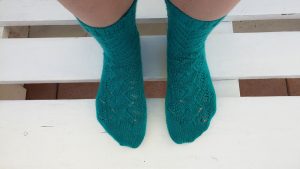
3. To model or not to model
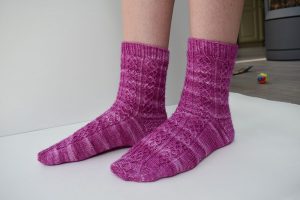
Sure, pictures on real feet usually look best, but that doesn’t mean you should always have to pick a victim to either take the pictures or model for you.
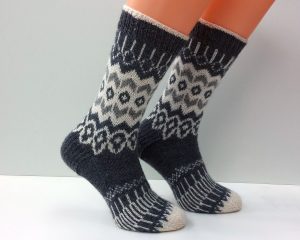
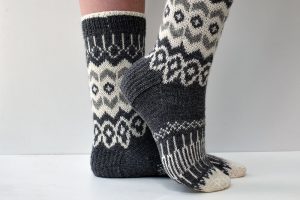
In my humble opinion, a pair of dummy feet can look almost as real and natural as a pair of human feet. Or at the very least it doesn’t have to be completely obvious that you’re using fake feet.
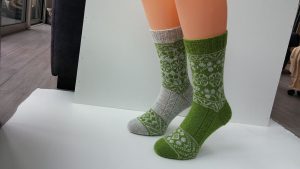
4. Strike a pose
Let’s admit it: feet look pretty damn awkward most of the time. As I have a EU size 41 so I’m having pretty hard time not having my feet look alien length. And some poses just make it look worse.
But what can you do about it? I try to see what works for other people and try to mimic their pose (not always very successfully, I might add). Then, once I’ve uploaded the pictures to my computer, I try to select the poses in which my feet look the least awkward.
Hint: Go for natural/traditional poses when using dummies. Not everyone likes the use of dummy feet, so you’d better make it difficult for them to find out you’re using them
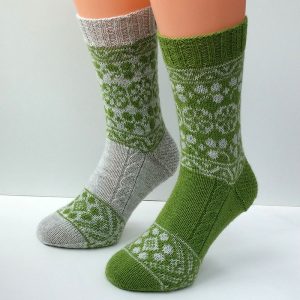
5. Make sure you see the big picture
Try not to take your pictures from too close by. It’s easy to crop your picture afterwards, but you can’t just add a piece of toe or cuff if you’re missing it in the original pic.
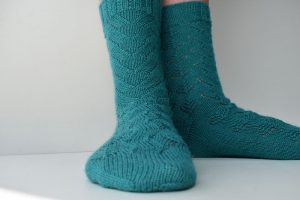
Hint: try to also take some close ups to capture the full detail of the stitch pattern
6. Pespective
The perspective from which the pictures are taken can make loads of difference. If you’re taking your pictures from above (bird’s eye perspective) or below (worm’s eye perspective) it can make your feet look pretty damn weird.
Try to make sure your camera is as level as possible with the feet you’re trying to photograph, unless you’re intentionally going for that kind of look.
Hint: try standing on a (low) table so it’s easier on the photographer’s back to get pictures that are taken at level height with the socks
7. Try and try again
Take loads and loads of pictures. No really. You don’t want to end up having to redo your photoshoot, just because something is wrong with one of the shots.
The time of camera films is long gone. Just make sure you have some storage space left on your camera and shoot those pics!
If you like this tutorial, please subscribe to my newsletter to hear about my latest blog posts, tutorials, and pattern releases. You can also follow me on Instagram or Facebook.
